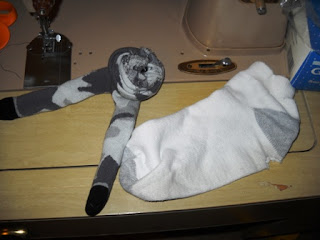
I made another sock doll yesterday so I could post a tutorial. I'll be sending this one to my niece (you are welcome, Nicole). So, here's how to make it!
I used a serger to sew up the seams but a regular sewing machine will work just fine.
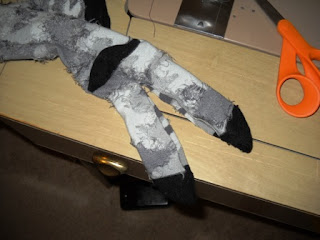
Take a knee sock and imagine the heel as the butt of the doll. Turn the sock inside out and cut from the toe to about an inch from the heel. Sew up either side (I rounded the toes a little to look more like feet.)
Then, choose how tall you would like the doll and cut off the top of the sock. Cut about an inch from the band of the sock and cut the middle part in half (for the arms).
Turn it right side out and then stuff the legs of your doll. I rolled up an old athletic type sock and put it in the butt so the doll will sit up on it's own and has a little more weight to it. I also cut up another sock and added it for the extra weight but was a little softer when mixed with the other stuffing. Go ahead and stuff the arms and sew those as well.
Once it is all stuffed, sew up the top.
The top part you cut off will become the hat. Sew that up and turn
it right side out. Place it on the top of the head and hand stitch with
a coordinating thread. Separate the head from the body by wrapping thread around and sewing
through the neck. (This always makes me feel a little weird and violent.)
Sewing on the arms is a little harder and has to be done by hand. I fold over the sewn part and then sew flat to the side (so the very end is hidden). When one is sewn on, I stab the needle straight through the body to the other side to sew the second arm.
Once the arms are done, you can sew eyes and a mouth or just leave them without. And, you are finished! This could be done with smaller socks, you would just need two instead of one.
Just remember, making these is not a science. If something doesn't look quite right, tweak it until it does. Have fun!


